
How I Built Polished Demo Videos With Remotion, Claude Code, and Claude Cowork
Used Claude Code and Claude Cowork to build a Remotion pipeline that captures the real app, animates it into a polished video, and re-renders automatically whenever the app changes.

In my previous post, I mentioned building “a demo video pipeline using Remotion” for my Timezone Scheduler on Day 4 of the project. That was one sentence. This is the full story.
Why I stopped screen recording
Screen recordings are fine for a quick Slack walkthrough. For a public product page, they drove me up the wall.
The dead time is the first annoyance. Waiting for a page to load, an accidental misclick, scrolling past the wrong section. You either ship an awkward video or learn timeline editing software to trim it. Neither option is fast.
But the real problem is what happens next. You update a button label. You tweak the color scheme. You add a new feature. Now your demo video is stale, and the only way to fix it is to record the whole thing again. I went through this cycle three times before deciding there had to be a better way.
And if you want both a desktop and a mobile version? Record twice. Edit twice. Sync them when the app changes. Twice.
I wanted demo videos that were reproducible from source, like code. Change a screenshot, re-render, get updated videos. Automatically. You can see the result at timezones.centminmod.com/demo-videos.
Why Remotion
I looked at manual screen recording with an editor like Camtasia, FFmpeg scripting, Motion Canvas, After Effects, and Remotion. Most of these are either not reproducible (screen recording), painful to compose complex scenes with (FFmpeg), or overkill and expensive (After Effects).
Remotion won because it turns videos into code. You define scenes as React components, then render to MP4. Need to update something? Edit the source, re-render. Need a mobile version? Same code, different viewport config. And since it is React, Claude Code could write and iterate on the video components without learning a specialized animation language.
How the pipeline works
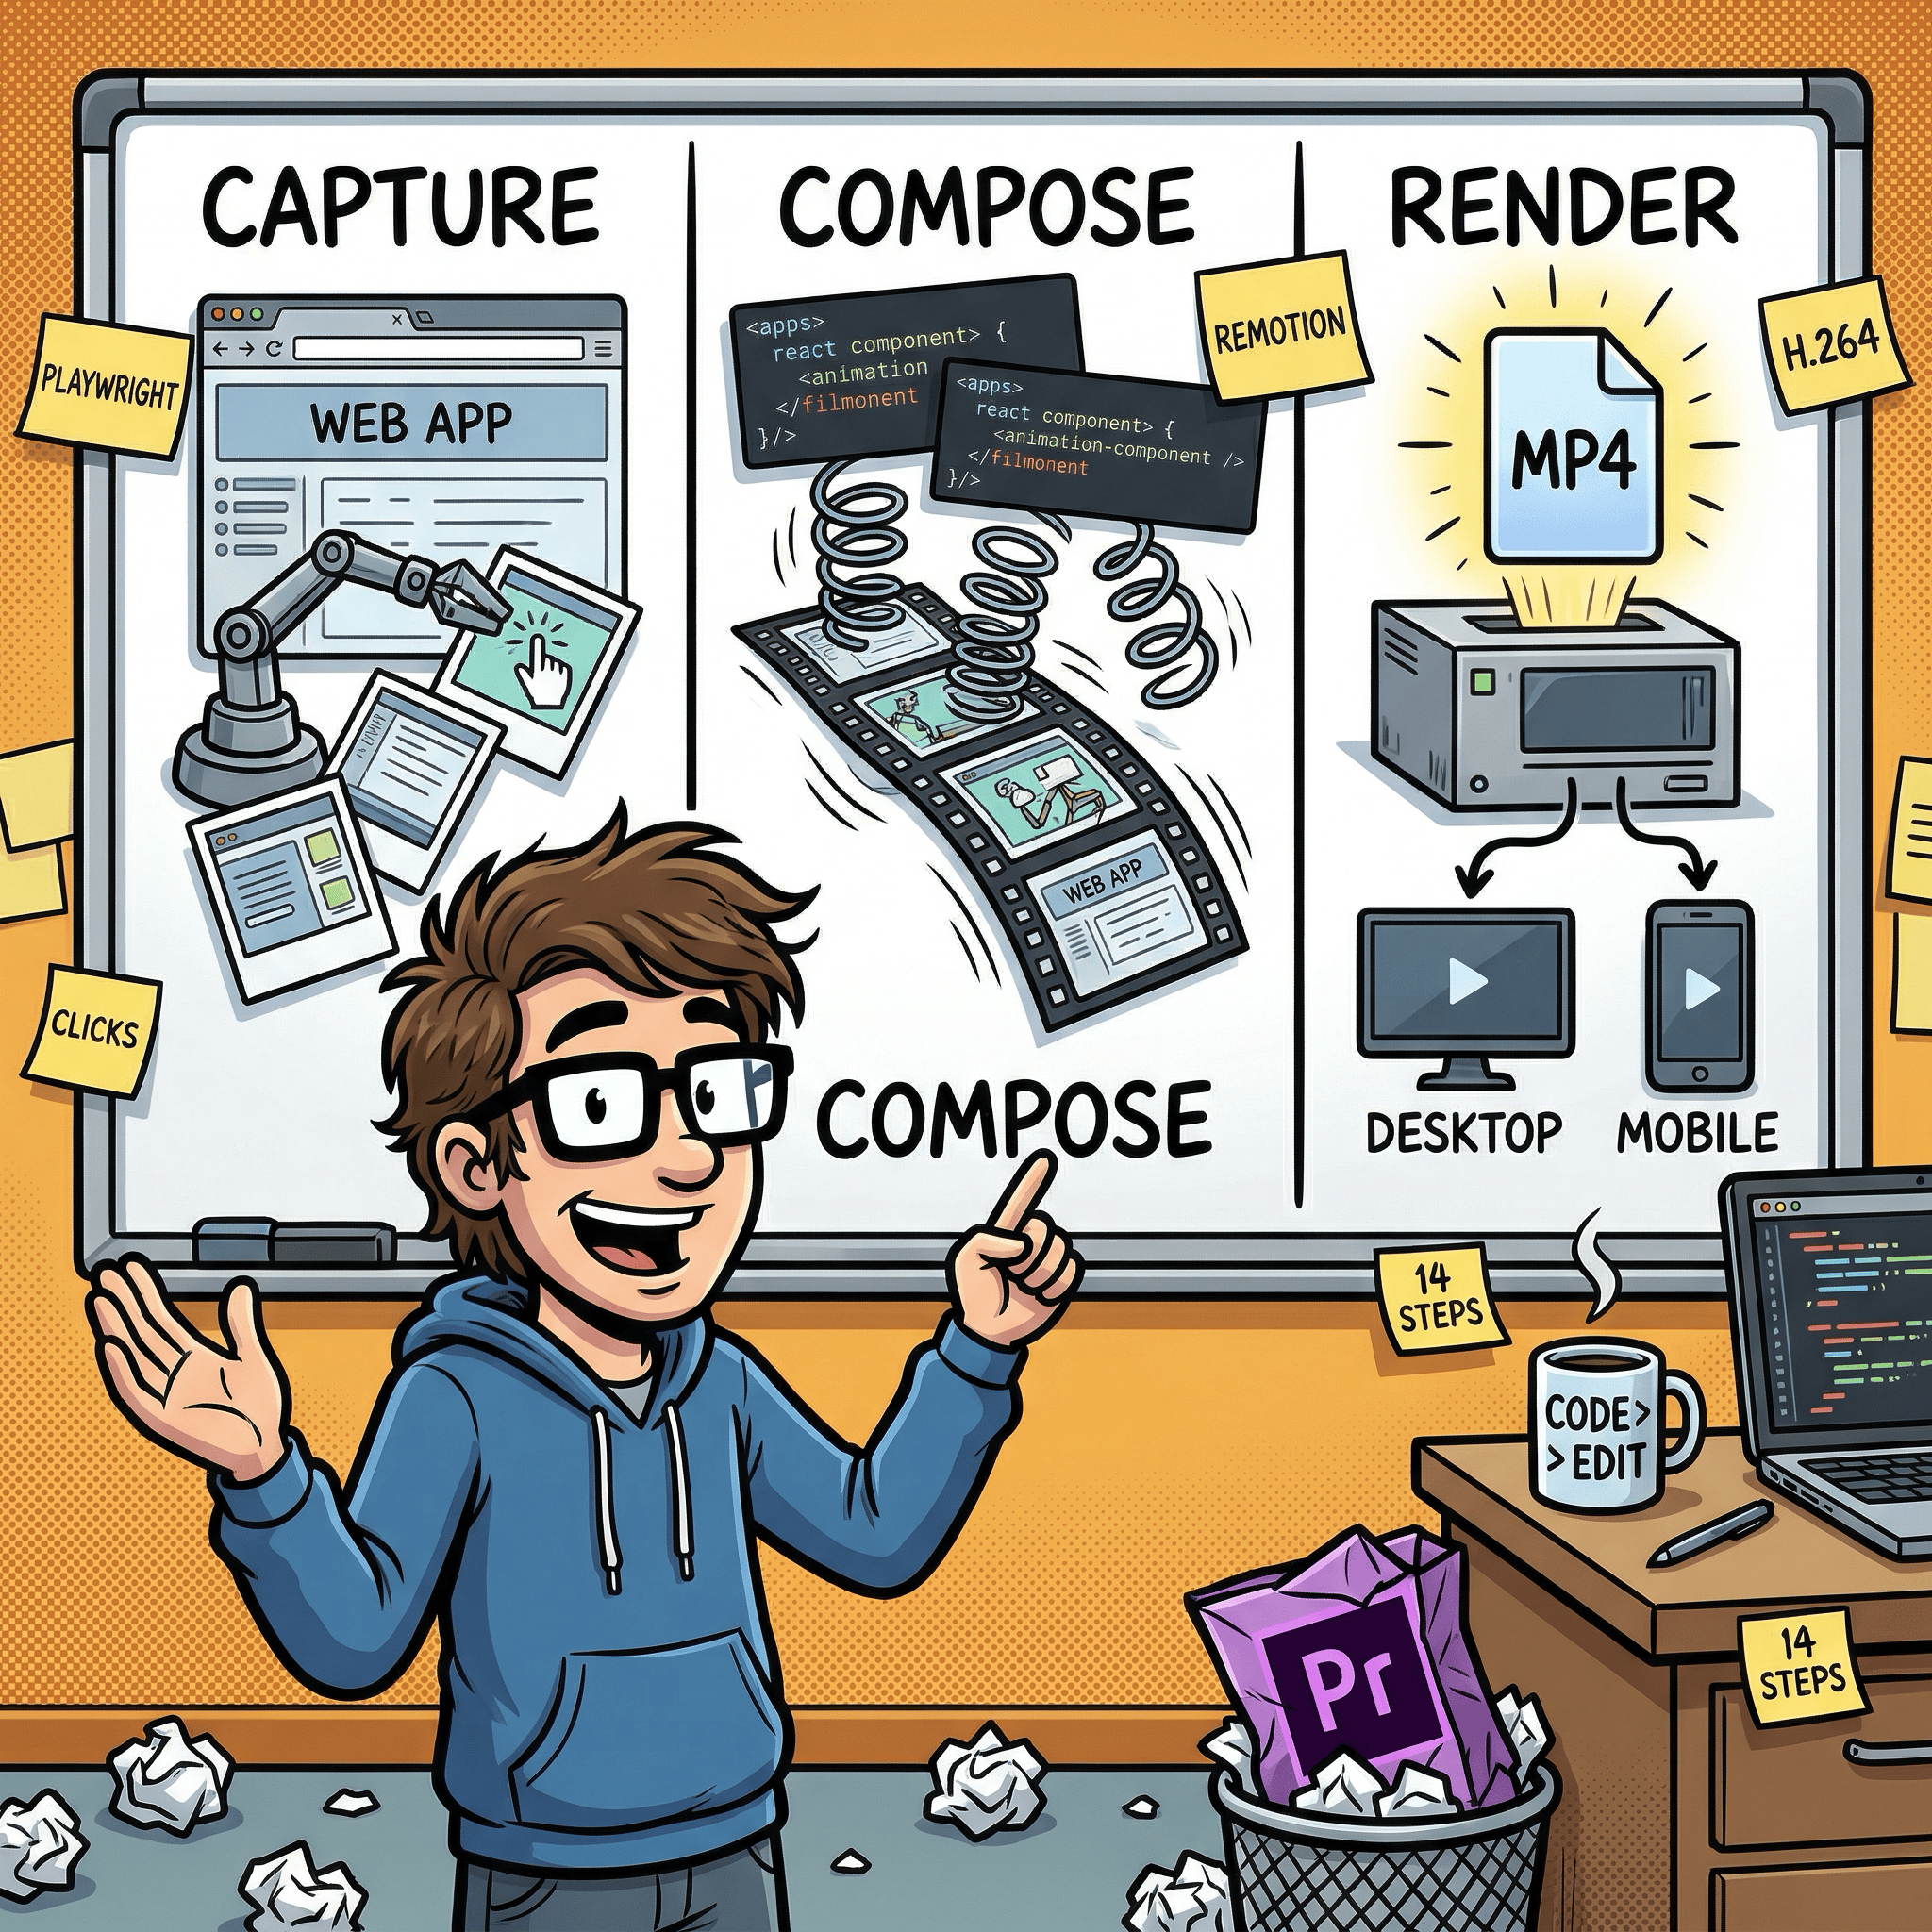
The system has three phases: capture the app, animate the captures, render the videos.
Phase 1: Capture the real app
Instead of static mockups, a Playwright script (a browser automation tool commonly used for testing) opens the live Timezone Scheduler in a headless browser (a browser running invisibly under automation). It walks through a 14-step demo: searching for cities, adding them, viewing the meeting scheduler grid, exporting to a calendar, finding the best meeting time, and exploring the interactive world map.
At each step, Playwright takes a screenshot and records the cursor target coordinates (the center of the element’s bounding box). Everything feeds into a manifest JSON file (a structured checklist of screenshots, cursor positions, and timing) that the next phase reads.
The capture runs twice: once at desktop resolution (1920x1080), once at mobile (390x844 at deviceScaleFactor: 2 for retina-quality captures). Same steps, different screen size. One detail I liked: the script sets the app to dark mode via localStorage before any navigation, so every screenshot uses the dark theme consistently without manual toggling.
Here is what one step definition looks like in the config:
{
  label: 'Search "Brisbane"',
  action: "type",
  selector: "#city-search",
  value: "Brisbane",
  waitFor: '#search-dropdown [role="option"]',
  cursorSelector: "#city-search",
  durationSeconds: 2,
}
Each entry says: what to show the user, what action to perform, which DOM element (identified by its CSS selector) to interact with, and how long to display it in the video.
Phase 2: Animate with Remotion
Remotion takes those screenshots and turns them into a polished video. Each screenshot gets three layers of motion: a slow zoom (the “Ken Burns” effect, barely noticeable but it keeps the eye engaged), an animated cursor that glides to the next click target, and a label that slides in to explain what is happening.
Between each step, spring-based transitions create smooth fades. “Spring-based” means the animations use physics simulation instead of linear timing, which makes them feel more natural. Think of how a real object decelerates as it comes to rest, rather than stopping abruptly.
The video opens with an animated title card and closes with a call-to-action.
Phase 3: Render
One command produces two MP4 files: desktop (1920x1080) and mobile (1080x1920) at 30fps, encoded as H.264. Same animation code, different dimensions. The entire Remotion project lives in its own video/ directory with a separate package.json to keep its dependencies isolated from the main app. Render time is about 60-90 seconds per video.
The real story: two passes, not one
The entire pipeline was built through Claude Code in a single session. I described what I wanted in plain English, and Claude Code wrote the capture script, the video components, the render pipeline, and the shell script that chains them together.
I hit render. Two MP4 files appeared. That was a genuine “wait, it actually works?” moment.
But when I played them back, the result was… fine. Functional. The screenshots faded in and out with basic transitions. It looked like an automated slideshow, not a demo video. Desktop was 5.9 MB, mobile 6.8 MB. Small files, because there was barely any actual motion to encode.
Then I found something that changed the result completely.
Remotion’s team publishes a remotion-best-practices skill, a collection of 30+ reference documents specifically designed for AI coding tools. Each document covers a single topic with explanations and ready-to-use code examples:
Animation and timing: springs, interpolation curves, sequencing, trimming
Transitions:
TransitionSeriescrossfades, spring-timed scene changesMedia: embedding images, video, audio, GIFs, Lottie animations
Text and fonts: text animations, Google Fonts loading, measuring text dimensions
Advanced: 3D with Three.js, charts and data visualization, maps with Mapbox, transparent video rendering
AI integrations: captions and subtitles, voiceover generation with ElevenLabs
Tooling: FFmpeg operations, extracting frames, getting video/audio duration
It is essentially a domain-specific knowledge base that turns a general-purpose AI coder into one that knows Remotion’s idioms. I had not installed it for the first pass. I did not even know it existed yet.
I installed it into my Claude Code setup and said: “Redo the video using these best practices.”
One pass. That is all it took. Claude Code added the Ken Burns zoom, an animated cursor with a click pulse effect, spring-timed transitions between every scene, staggered animations on the intro slide, and smooth fade-out exits on the step labels. I did not tune a single animation parameter. Claude Code picked the timing values from the best practices docs, and they looked right on the first render.
The numbers told the story: desktop went from 5.9 MB to 18.4 MB, mobile from 6.8 MB to 16.8 MB. Roughly 3x larger, because the smoother animations produced more visual information for the video encoder. That file size increase was not bloat. It was actual motion.
That skill has since become a permanent part of my Claude desktop Cowork setup. Any time I start a new Remotion project, Claude already has those best practices loaded. You do not need perfect tooling before you start. Build something that works, then upgrade your AI’s knowledge and let it improve what already exists.
Four commits, 90 minutes
The whole build happened across four git commits:
Initial pipeline (14:46): Full capture + render scaffold with a 12-step demo flow. Working but visually flat.
Polish pass (15:58): Installed the best practices skill and redid the compositions. This is where the video went from “automated slideshow” to “something I would actually put on a product page.”
Feature expansion (17:27): Added 2 new demo steps (calendar export). Updated the capture config and re-rendered. Took minutes.
Docs sync (17:34): Updated the landing page to list all 14 steps.
That third commit is the payoff of the whole approach. Adding new demo steps was not “re-record the whole video.” It was: add two entries to the config, re-run the capture, re-render. The old version of me would have opened a screen recorder, clicked through the whole app again, and spent 20 minutes editing. The pipeline did it in minutes.
What I would do differently
Audio. The videos are silent. A subtle background track or click sound effects would make them feel more complete. Remotion supports audio natively; I just did not prioritize it.
Smoother typing. Each step captures one screenshot, so you see the fully typed text appear at once. A future version could capture multiple frames during typing and stitch them into a mini-animation.
Auto-thumbnails. I manually picked frames for the video poster images. The render script could extract a frame at a specific timestamp automatically.
Custom fonts. The intro and outro use system fonts. Loading a branded font (Remotion supports Google Fonts) would give the titles more personality.
What I learned
Treat demo videos like code, not media. If you maintain a product with a changing UI, a code-driven video pipeline pays for itself after the second re-render. I have re-rendered these videos three times as the app evolved, each time with a single command.
Playwright is a capture tool, not just a testing tool. The same browser automation you write for end-to-end tests can drive a demo video. If you already have Playwright tests, you are halfway there.
AI skills compound, and you can add them after the fact. I did not have the remotion-best-practices skill when I built the first version. I installed it afterward and asked Claude Code to redo the work. The second pass was dramatically better. You do not need perfect tooling upfront. Build something, then give your AI better reference material and let it improve what exists.
What is next
I plan to add audio, improve the typing animations, and try Remotion’s dynamic duration features for more flexible compositions. If there is a specific part of this pipeline you want me to go deeper on, let me know in the comments.
The demo videos are live at timezones.centminmod.com/demo-videos.
If you’re interested in practical AI building for web apps, developer workflows, and infrastructure, subscribe for future posts. You can also follow my shorter updates on Threads (@george_sl_liu) and Bluesky (@georgesl.bsky.social) or subscribe and follow along.